

How to Bleed Brakes
Keeping up with routine brake service helps to keep your overall brake system fine-tuned. Bleeding the brake lines is just one component of brake service. Wondering how to bleed brakes if there's air trapped in your car's brake system? While the process is not difficult, it is time-consuming. If you prefer to do your own vehicle maintenance, the automotive experts at North Bay GMC have provided a guide on how to bleed brake lines below.
Schedule ServiceWhy is Bleeding the Brakes Necessary?
Not only may you be wondering how to bleed brakes, you may also be wondering why this task is necessary at all. Over time, the moisture resistance of brake fluid wears down. As the fluid starts to absorb water, air can also get trapped in the brake system. This leads to a "soft" or "spongy" brake pedal. Bleeding the brakes gets rid of the air that has been trapped so that the brake pedal has a firmer feel.
How to Bleed Brakes By Yourself
Before you can learn how to bleed brakes by yourself, you will need to have all of the proper supplies on hand. This task requires brake fluid, a box-end wrench, a fluid holder and tubing, and an assistant to help you. Now that you have everything you need, you can learn how to bleed brake lines.
Step 1:
Before you begin, check your owner’s manual to ensure the brake fluid you have selected is right for your vehicle. There are many different types of brake fluid on the market, and your owner's manual will also tell you when brake fluid should be replaced.
Step 2:
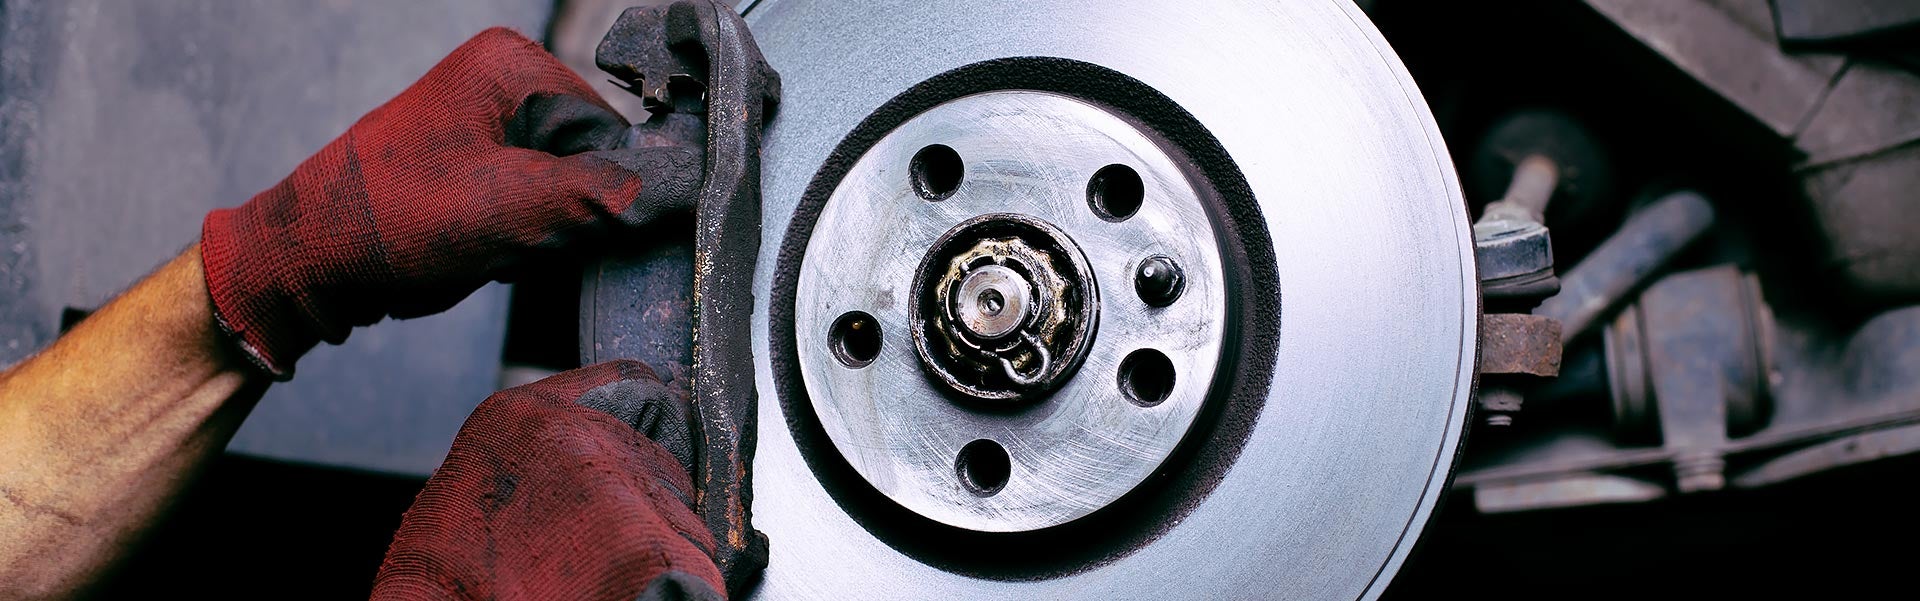
Park your vehicle on solid level ground. Jack up the car to remove each wheel.
Step 3:
Locate the four caliper bleeding screws and loosen them. They may not loosen right away, and if that is the case, do not twist hard with your wrench. Spray the screw with penetrating oil and wait about 30 minutes before trying to loosen the screw again. If the screw strips or snaps, stop where you are. You will need to consult a service professional before proceeding.
Step 4:
Tighten each screw again. You need to bleed one brake at a time, so the other three screws need to be tight to prevent air bubbles from forming.
Step 5:
Take a look at the brake fluid level in the master cylinder reservoir. Ensure you have the right level of brake fluid. As you bleed the brakes, keep the master cylinder cap unscrewed, but place it on top of the reservoir. Start by bleeding the brake furthest from the master cylinder. This is a general rule for most vehicles, but it is possible your vehicle may require a different order. You can check your owner's manual or consult one of our highly-skilled technicians.
Step 6:
Secure the end of a piece of clear tubing (about 1/4 inches in diameter) over the first bleeder screw. The opposite end should be placed into a receptacle of some sort like a plastic bottle. You can also find the supplies you need in a brake bleeding kit. The tubing should be long enough that you can place the receptacle above the bleeder screw's height. This is important in preventing any air caught in the tube from moving back into the brake caliper.
Step 7:
Ask your assistant to help with this step. Turn the engine of the car off, and ask your assistant to pump the brake pedal several times. They should continue to do this until they feel resistance pushing back against the pedal. Your assistant should then keep pressure on the pedal. As this is happening, slightly open the bleeder screw. Fluid will start to move through the tube and the pedal will drop closer to the floor. Your assistant should be applying pressure to the brake pedal the entire time.
Step 8:
Your assistant should notify you right before the pedal reaches the floor. When they do, close the bleeder screw as soon as possible. Check the fluid level in the master fluid reservoir to see if more fluid is needed.
Step 9:
Repeat the previous two steps approximately five times for the same bleeder screw. The fluid stream should not have any bubbles to proceed to the next step.
Step 10:
Repeat steps 7, 8, and 9 in the correct order for the other three bleeder screws. Start with the screw that is furthest away from the master cylinder and move toward the one closest to it.
Step 11:
Once you have finished bleeding your brakes, have your assistant apply the brakes then quickly release the pedal. Watch the fluid in the master cylinder reservoir to see if there is a significant amount of bubbles. If this is the case, there's still air in the system that will need to be removed. If the fluid is moving only slightly, you have fully bled the brakes.
Step 12:
Tighten each of the bleeder screws before putting the wheels back on. Apply enough pressure to make sure they're secure, but don’t use all of your strength.
Trust the Experts at North Bay GMC for Quality Brake Service
Now that you know how to bleed brakes, you may still be more comfortable leaving that task to a professional. That’s ok. The team at North Bay GMC near Manhasset and Bayside would be happy to take care of it for you. Contact us today for more information or set up an appointment with our service center.